Starlink Installation Guide 2026: Step-by-Step Setup for Rural Homes
Disclosure: GetRemoteInternet is reader-supported. This article contains affiliate links, and we may earn a commission if you purchase through them — at no extra cost to you. Learn more.
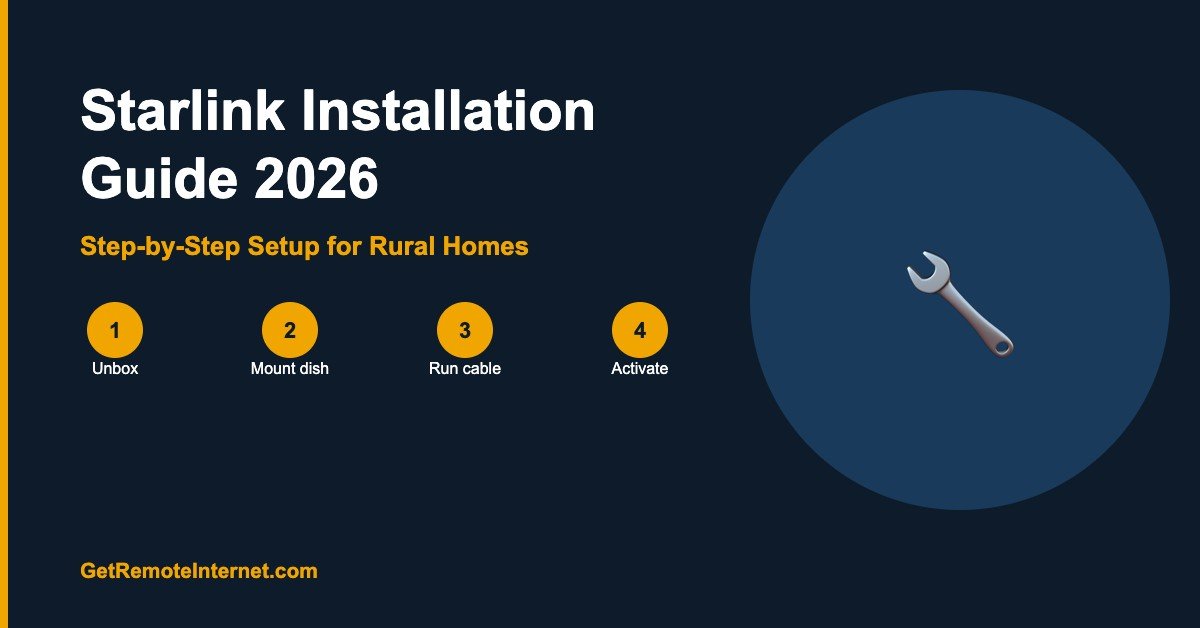
Setting up Starlink for the first time can feel intimidating — but the process is actually straightforward. Most installations take 30–60 minutes and require no technical experience. This guide walks you through every step, from unboxing to your first speed test.
What’s in the Starlink Box
- Starlink Gen 3 dish (round, self-orienting)
- Wi-Fi router (built into the dish on Gen 3)
- 30 ft power/data cable
- Base mount (kickstand for ground use)
- Power brick
Not included but often needed: a roof mount or pole mount ($30–$149 in the Starlink shop), and the Ethernet adapter ($25) if you want to connect a third-party router.
Step 1: Download the Starlink App
Before you do anything else, download the Starlink app on your phone. You’ll use it to check for obstructions at your install location, complete setup, and monitor your connection. It’s available for iOS and Android.
Step 2: Find the Best Mounting Location
Starlink needs a clear, unobstructed view of the sky — particularly toward the north. Open the Starlink app and tap Check for Obstructions. Point your phone’s camera at the sky from where you plan to mount the dish. The app shows you a sky map and marks any trees, buildings, or terrain that will block your signal.
Best mounting locations in order:
- Roof peak (highest point, best sky view)
- Roof edge or fascia mount
- Chimney mount
- Tall pole in the yard (20+ feet)
- Ground using the included kickstand (temporary/testing only)
Even a small obstruction — like a tree branch in the northern sky — can cause periodic outages. Take the obstruction check seriously; it’s the most important decision in the whole install.
Step 3: Mount the Dish
Starlink’s Gen 3 dish self-orients — it motors itself to the correct angle once powered on. You don’t need to aim it manually. Just mount it level (within a few degrees), run the cable, and the dish handles the rest.
For roof mounts: use the Starlink pipe adapter mount (fits standard 1.66″ OD pipe) or their flat roof mount. Run the cable along the roofline and through a cable entry point. Seal any exterior penetrations with exterior-grade silicone to prevent water intrusion.
Step 4: Run the Cable
Starlink’s 30 ft cable connects the dish to the power brick indoors. For longer runs (the cable can be extended up to 150 ft with a Starlink extension cable), plan your cable route before drilling. The cable is weatherproof and can be run along exterior walls, through attic space, or inside conduit.
Important: Don’t kink, crush, or make sharp bends in the cable — it contains a proprietary connector that can be damaged. The minimum bend radius is about 1.5 inches.
Step 5: Power On and Activate
Plug the power brick into an outlet, connect the cable from the dish, and power on. The dish will spend 10–15 minutes orienting itself and connecting to satellites. Open the Starlink app and follow the activation prompts — you’ll need your Starlink account credentials. Once connected, run the built-in speed test. Most users see 50–200 Mbps on first connection.
Optional: Set Up a Third-Party Router
If you want to use your own router for better Wi-Fi coverage:
- Order the Starlink Ethernet Adapter ($25) from the Starlink shop
- In the Starlink app: Settings → Enable Bypass Mode
- Connect your router’s WAN port to the Ethernet adapter
- Complete your router’s setup
See our guide to the best routers for Starlink for top picks that maximize your speeds.
Troubleshooting Common Starlink Issues
| Issue | Fix |
|---|---|
| Dish won’t connect | Check obstruction app — trees or buildings blocking northern sky |
| Intermittent outages | Snow/ice on dish — enable Snow Melt mode in app |
| Slow speeds | Check router placement; use Bypass Mode with a better router |
| No power | Check cable connections; confirm power brick outlet is live |
Frequently Asked Questions
Do I need a professional to install Starlink?
No — Starlink is designed for self-installation. Most homeowners complete the full install in under an hour with no professional help. If you’re uncomfortable working on a roof, a handyman can assist with mounting for $50–$150.
How high does the Starlink dish need to be?
High enough to have a clear northern sky view — typically rooftop level works well. There’s no minimum height requirement, but more height generally means fewer obstructions. The included kickstand works for testing at ground level but isn’t suitable for permanent installation.
Can I install Starlink myself on a metal roof?
Yes — use the Starlink non-penetrating roof mount or a ridge mount designed for metal roofs. Avoid drilling into metal roofing panels if possible; use a mount that clamps to the ridge or uses existing penetration points.
📡 Get Rural Internet Tips — Free
Provider updates, signal booster deals, and honest reviews delivered to your inbox.